Introduction
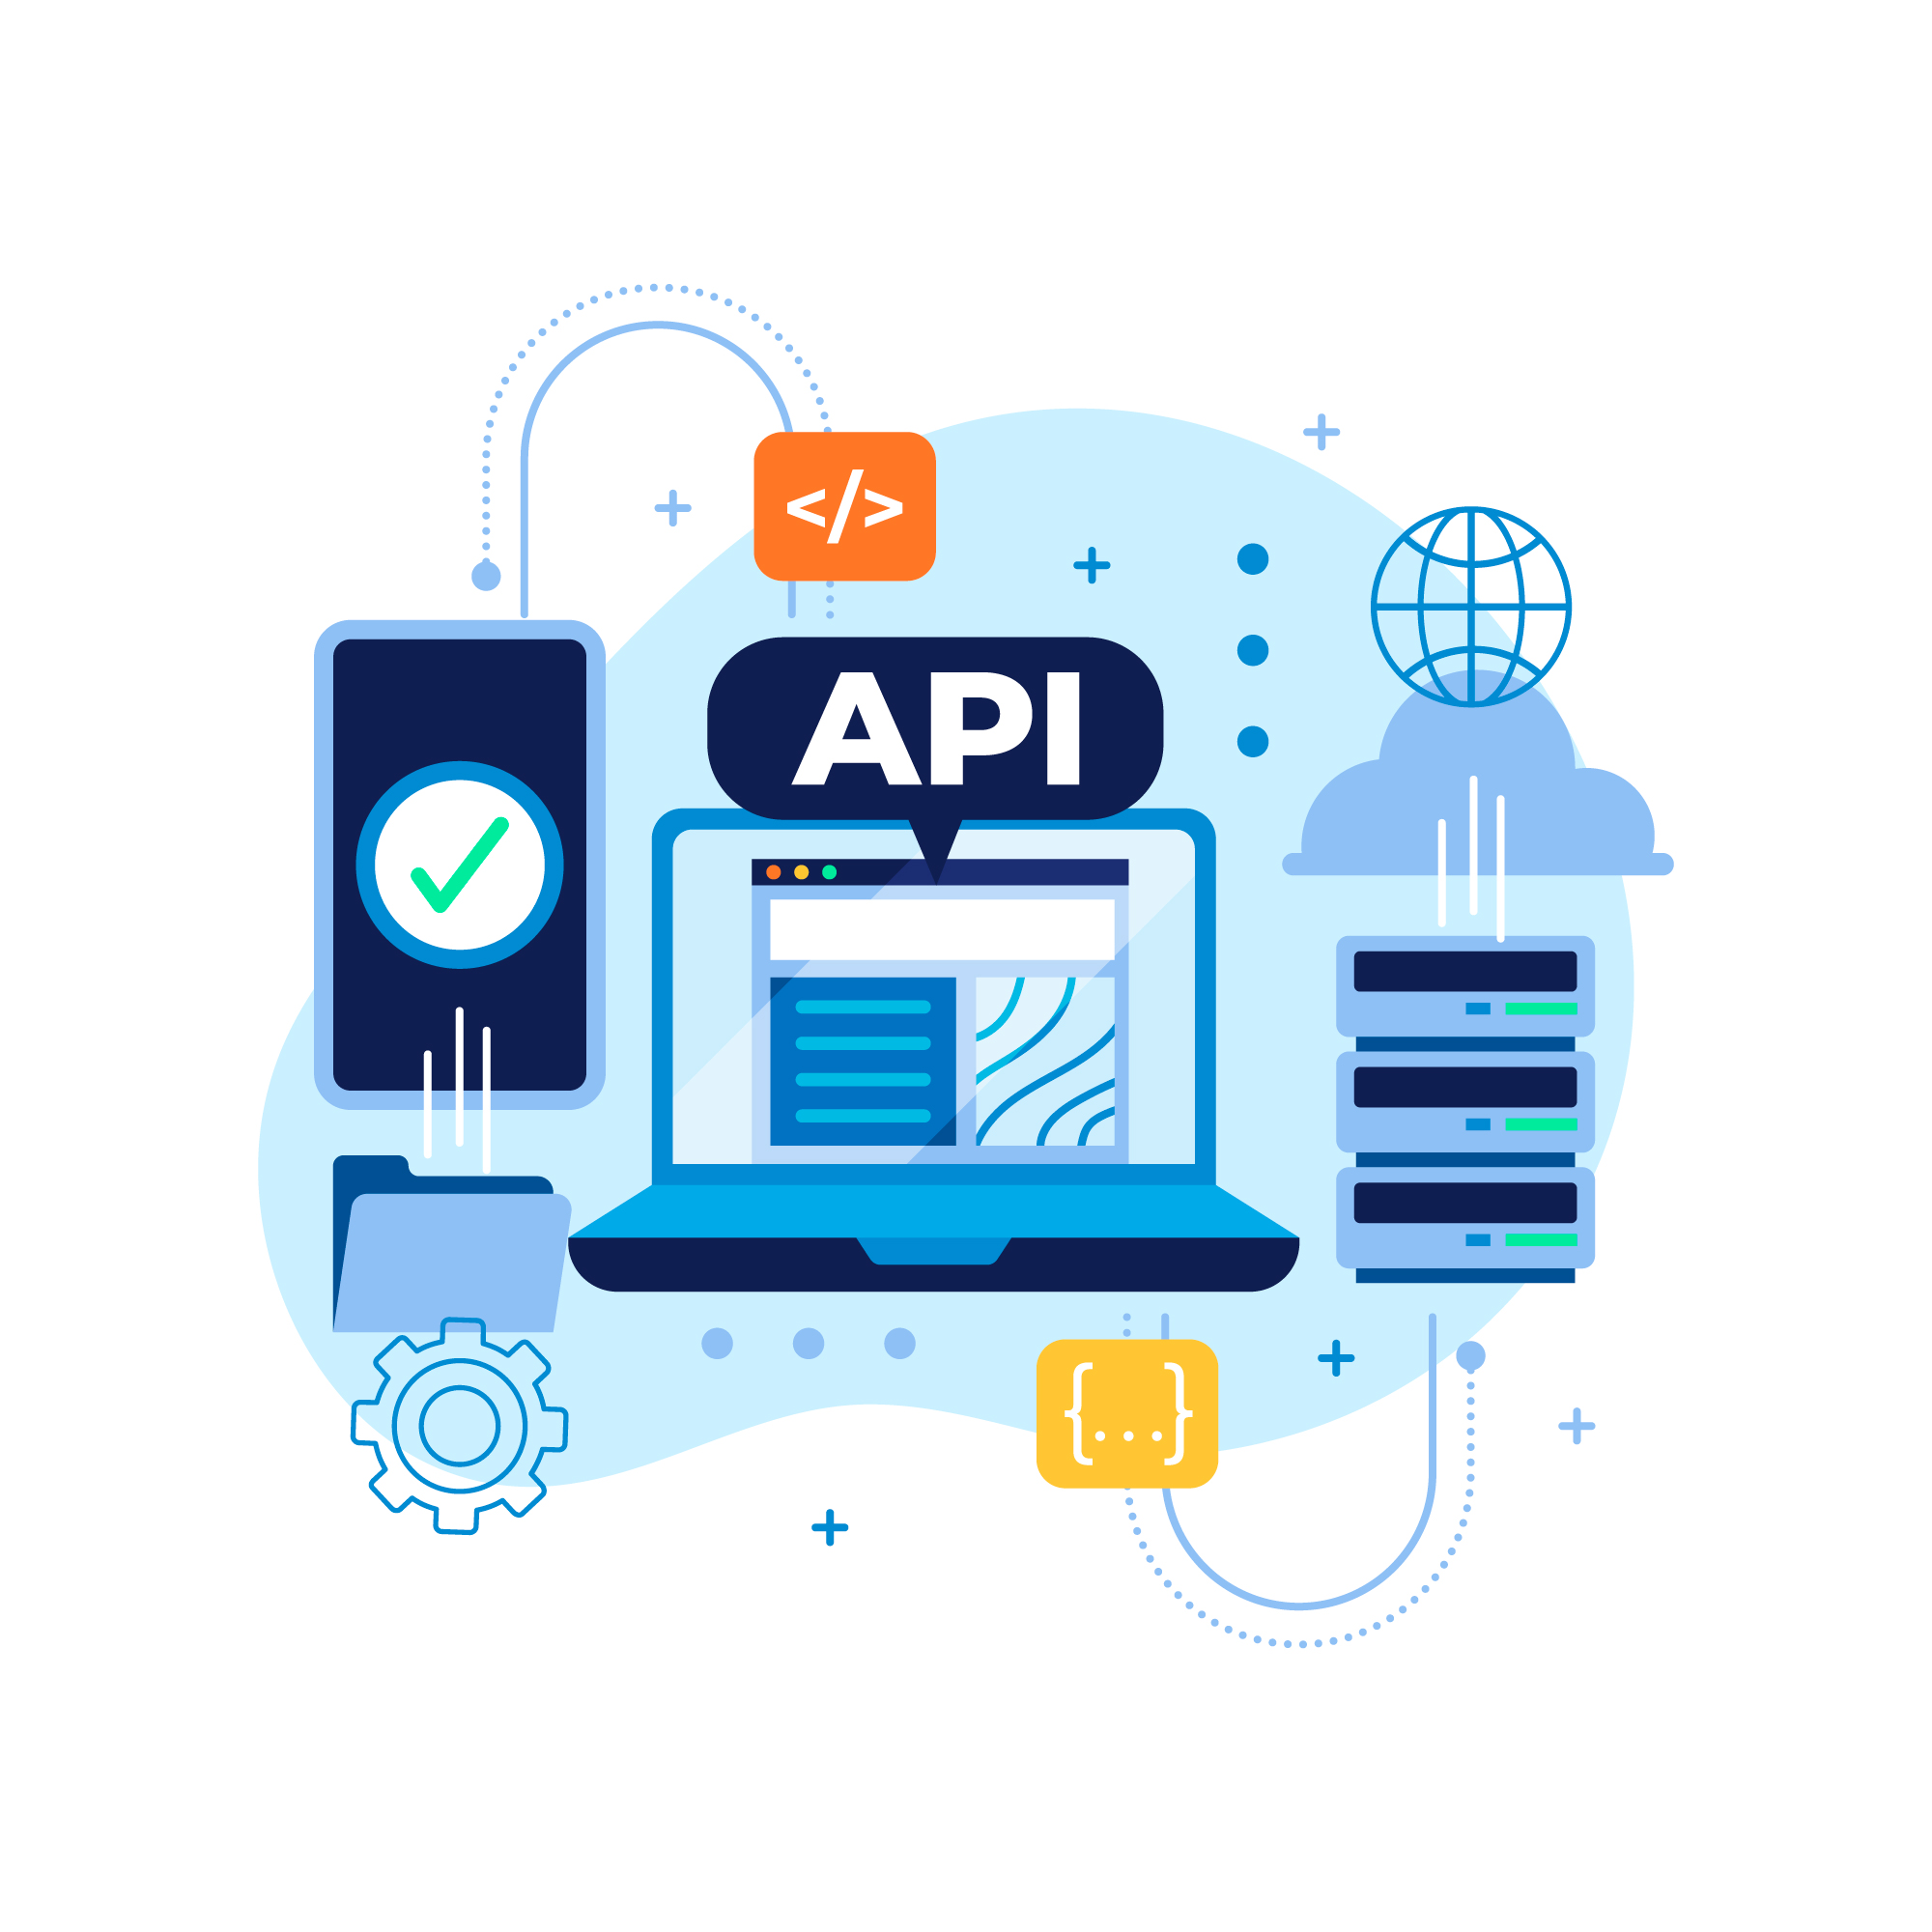
In today’s digital landscape, creating robust and efficient APIs (Application Programming Interfaces) is crucial for developing modern web applications. RESTful APIs, in particular, have become the standard for building scalable and maintainable web services. In this comprehensive guide, we will walk you through the process of building your first RESTful API using Node.js, a popular runtime environment for executing JavaScript code outside of a browser.
Why Node.js?
Node.js has gained widespread popularity among developers due to its non-blocking, event-driven architecture, which makes it ideal for building fast and scalable network applications. With its vast ecosystem of libraries and frameworks, Node.js provides developers with the tools they need to build high-performance APIs quickly.
Prerequisites:
Before we dive into building our RESTful API, make sure you have the following prerequisites installed on your system:
- Node.js: Download and install Node.js from the official website (https://nodejs.org).
- Text Editor: Choose a text editor of your preference. Popular choices include Visual Studio Code, Sublime Text, or Atom.
Step 1: Setting Up Your Project
Start by creating a new directory for your project and navigate into it using your terminal or command prompt.
mkdir my-restful-api cd my-restful-api
Next, initialize a new Node.js project by running:
npm init -y
This command will create a package.json file with default values.
Step 2: Installing Dependencies
We’ll need to install some dependencies to help us build our RESTful API. Run the following command to install Express, a minimal and flexible Node.js web application framework:
npm install express
Express.js will simplify the process of handling HTTP requests and defining routes for our API.
Step 3: Creating Your First Endpoint
Now, let’s create a basic Express server and define our first endpoint. Create a new file named index.js in your project directory and add the following code:
const express = require('express'); const app = express(); const PORT = process.env.PORT || 3000; app.get('/api', (req, res) => { res.json({ message: 'Welcome to my RESTful API!' }); }); app.listen(PORT, () => { console.log(`Server is running on port ${PORT}`); });
This code sets up a simple Express server listening on port 3000 (or the port defined by the environment variable PORT). It defines a single GET endpoint /api that returns a JSON response with a welcome message.
Step 4: Running Your Server
To start your server, run the following command in your terminal:
node index.js
You should see a message indicating that your server is running on the specified port.
Step 5: Testing Your API
Open your web browser or use a tool like Postman to send a GET request to http://localhost:3000/api. You should receive a JSON response with the welcome message.
Conclusion:
Congratulations! You’ve successfully built your first RESTful API with Node.js. In this guide, we covered the basics of setting up a Node.js project, installing dependencies, creating endpoints, and testing your API. From here, you can expand your API by adding more endpoints, integrating with databases, or implementing authentication mechanisms.
Building RESTful APIs with Node.js opens up a world of possibilities for creating powerful and scalable web applications. Stay curious, keep exploring, and happy coding!


